01 Nail the Brief
Have you ever played 20 questions while on road trips as a kid? If you haven’t, it goes something like this: one person thinks of a thing, literally anything, and the other person asks no more than 20 yes or no questions to figure out what that thing is. Unless you can read minds, it’s almost impossible to figure out what the other person is thinking of, and the game goes on and on and on.
Sometimes, working with a new client can feel like a game of 20 questions where each subsequent answer doesn’t seem to get you any closer to the truth. Suddenly you find yourself in the vicious cycle of endless revisions. In fact, revisions are the biggest pain point for 11% of illustrators we surveyed worldwide. Maybe clients know what they want, but have a hard time articulating it, or what they want keeps changing. Maybe they don’t really know what they want at all. But what if we told you that this could be resolved before you even begin?
This is where the brief comes in. A strong brief can help you avoid unrealistic deadlines, align mismatched style expectations, and streamline scattered feedback. That’s why we’re devoting the first section of Tyrus to outlining the steps you can take to nail the brief, so you don’t have to be a mind reader to keep a project on track from the start.
- Identify client needs early
- Write a thoughtful, thorough brief
- Practice using actionable tips, techniques, and templates for smoother end-to-end projects
- Gain insights from the larger industry and Airbnb Design
“When it comes to creating illustrations, I prepare my clients in advance. It is an incredibly useful tool to get clients to come on board early on. By sending them a clear timeline, they can really understand the way you work. And it builds a relationship with the client and allows a lot of room for them to trust you.”
5 Steps to Starting a Project Right Warm Up
The earliest stages of a project can be the most exciting. At this point, you’re starting to dig deeper into creative details and form ideas about what the finished product will look like.
When you first meet with your client, take notes on these 5 key points below. Later on, you can add them to an existing brief, or to create a new one from scratch!
5 Steps to Starting a Project Right
01 Identify stakeholders.
Knowing who’s involved in decision-making is key to keeping feedback streamlined and timelines on track. Will there be one person signing off on the work, or many? Who’s the main point of contact throughout and who gives final approval at the end?
02 Understand the bigger picture.
Context is crucial! Pinpointing what problems your illustrations will be solving—and finding out why those problems are important now—can help clarify larger goals, and your role in meeting them.
03 Get clear on copy.
Getting a grasp on the copy that will accompany your illustrations is important because it helps clarify a project’s tone and direction. At Airbnb, words come before illustration in the creative process, but that might not be the case with every client. Find out now whether copy is available for you to reference (and if not, when you can expect to receive it).
04 Ask where your art will live.
Work that appears on a billboard will have different requirements than work that’s made for Instagram. Avoid unnecessary revisions down the line by asking about size and complexity early on.
05 Become a brand expert.
Depending on the client, you may receive detailed brand guidelines at the beginning of a project, or you may not. Check whether your client has existing guidelines they can share with you. If they don’t, ask about their preferred palette, imagery, and tone of voice—the more specific their answers, the better! (Learn more about how to do this in our Deep Dive.)
Takeaway
Our in-house illustration team’s top advice? Ask all the questions. Remember that your job as an illustrator is as much about translating your client’s needs as it is about creating beautiful art. Your client may not have an artistic background, and therefore won’t instinctively know what you need to do your job—if that’s the case, it’s up to you to educate them.
Why Is a Brief Important? Deep Dive
A brief is your holy grail. It provides a solid foundation for the collaboration process, helping everyone stay aligned on important issues from day one.
In the Warm Up, we list five tips you can use to flesh-out an existing brief or create a new one. This deep dive takes a closer look at each tip, using real-life client scenarios. Each tip is paired with an email template to help you get started.
The Problem
A furniture design company specializing in sustainably made, customizable furniture contacts you for an illustration that will be used to promote their newest modular shelving system. But the brief they’ve given you isn’t complete. What’s worse, the client doesn’t seem to know what they want, and is offering unclear direction as you prepare to start the project.
The Solution
Step 1: Identify all stakeholders.
Depending on the project, there may be one person delivering feedback and giving approval on your work, or there could be an entire team that needs to sign off on every sketch. Knowing who will be involved in the decision-making process—aka your client stakeholders—will help keep the feedback process as streamlined as possible, and will help you set aside the right amount of time for revisions.

How this could go wrong
Let’s refer back to the furniture company example. Your client’s brief didn’t include any information about relevant stakeholders, and because you’ve only been communicating with the project manager, you assume she’s the one who will be reviewing and giving final approval on your work. You spend several days coming up with an illustration according to her direction, but after you submit, she tells you her boss is requesting a redo. You now have additional feedback to process, and you’re days behind on your timeline.
How to get it right
The easiest way to identify stakeholders is simply to ask! Get in touch with your main point of contact and ask whether there will be more than one person signing off on each draft, and who will be in charge of final approval.
Step 2: Understand the bigger picture.
Gathering as much background information as possible—what problems your illustrations will be helping to solve, the thinking behind the timing of a campaign, or why a company is interested in illustration to begin with, for example—will help you clarify goals and form a holistic approach to your work moving forward.
How this could go wrong
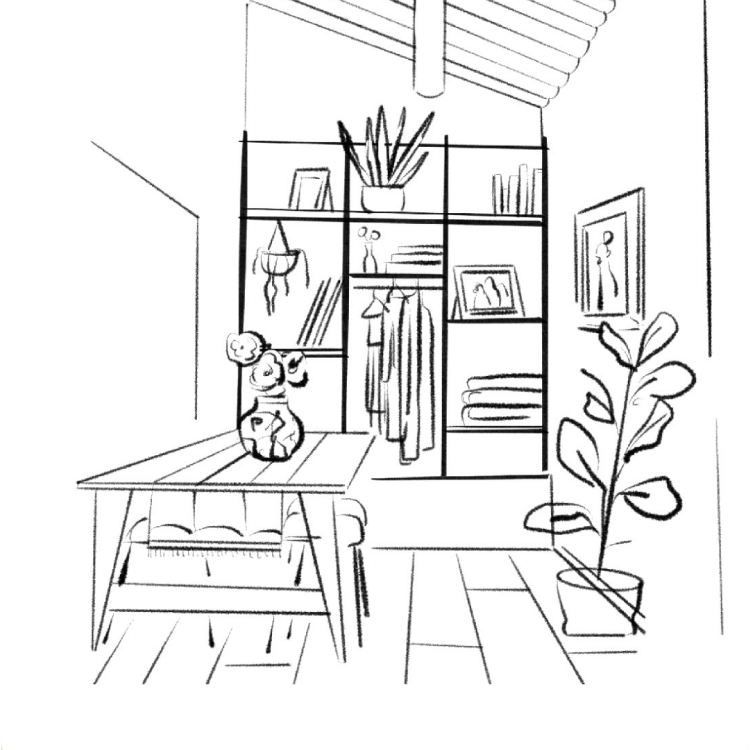
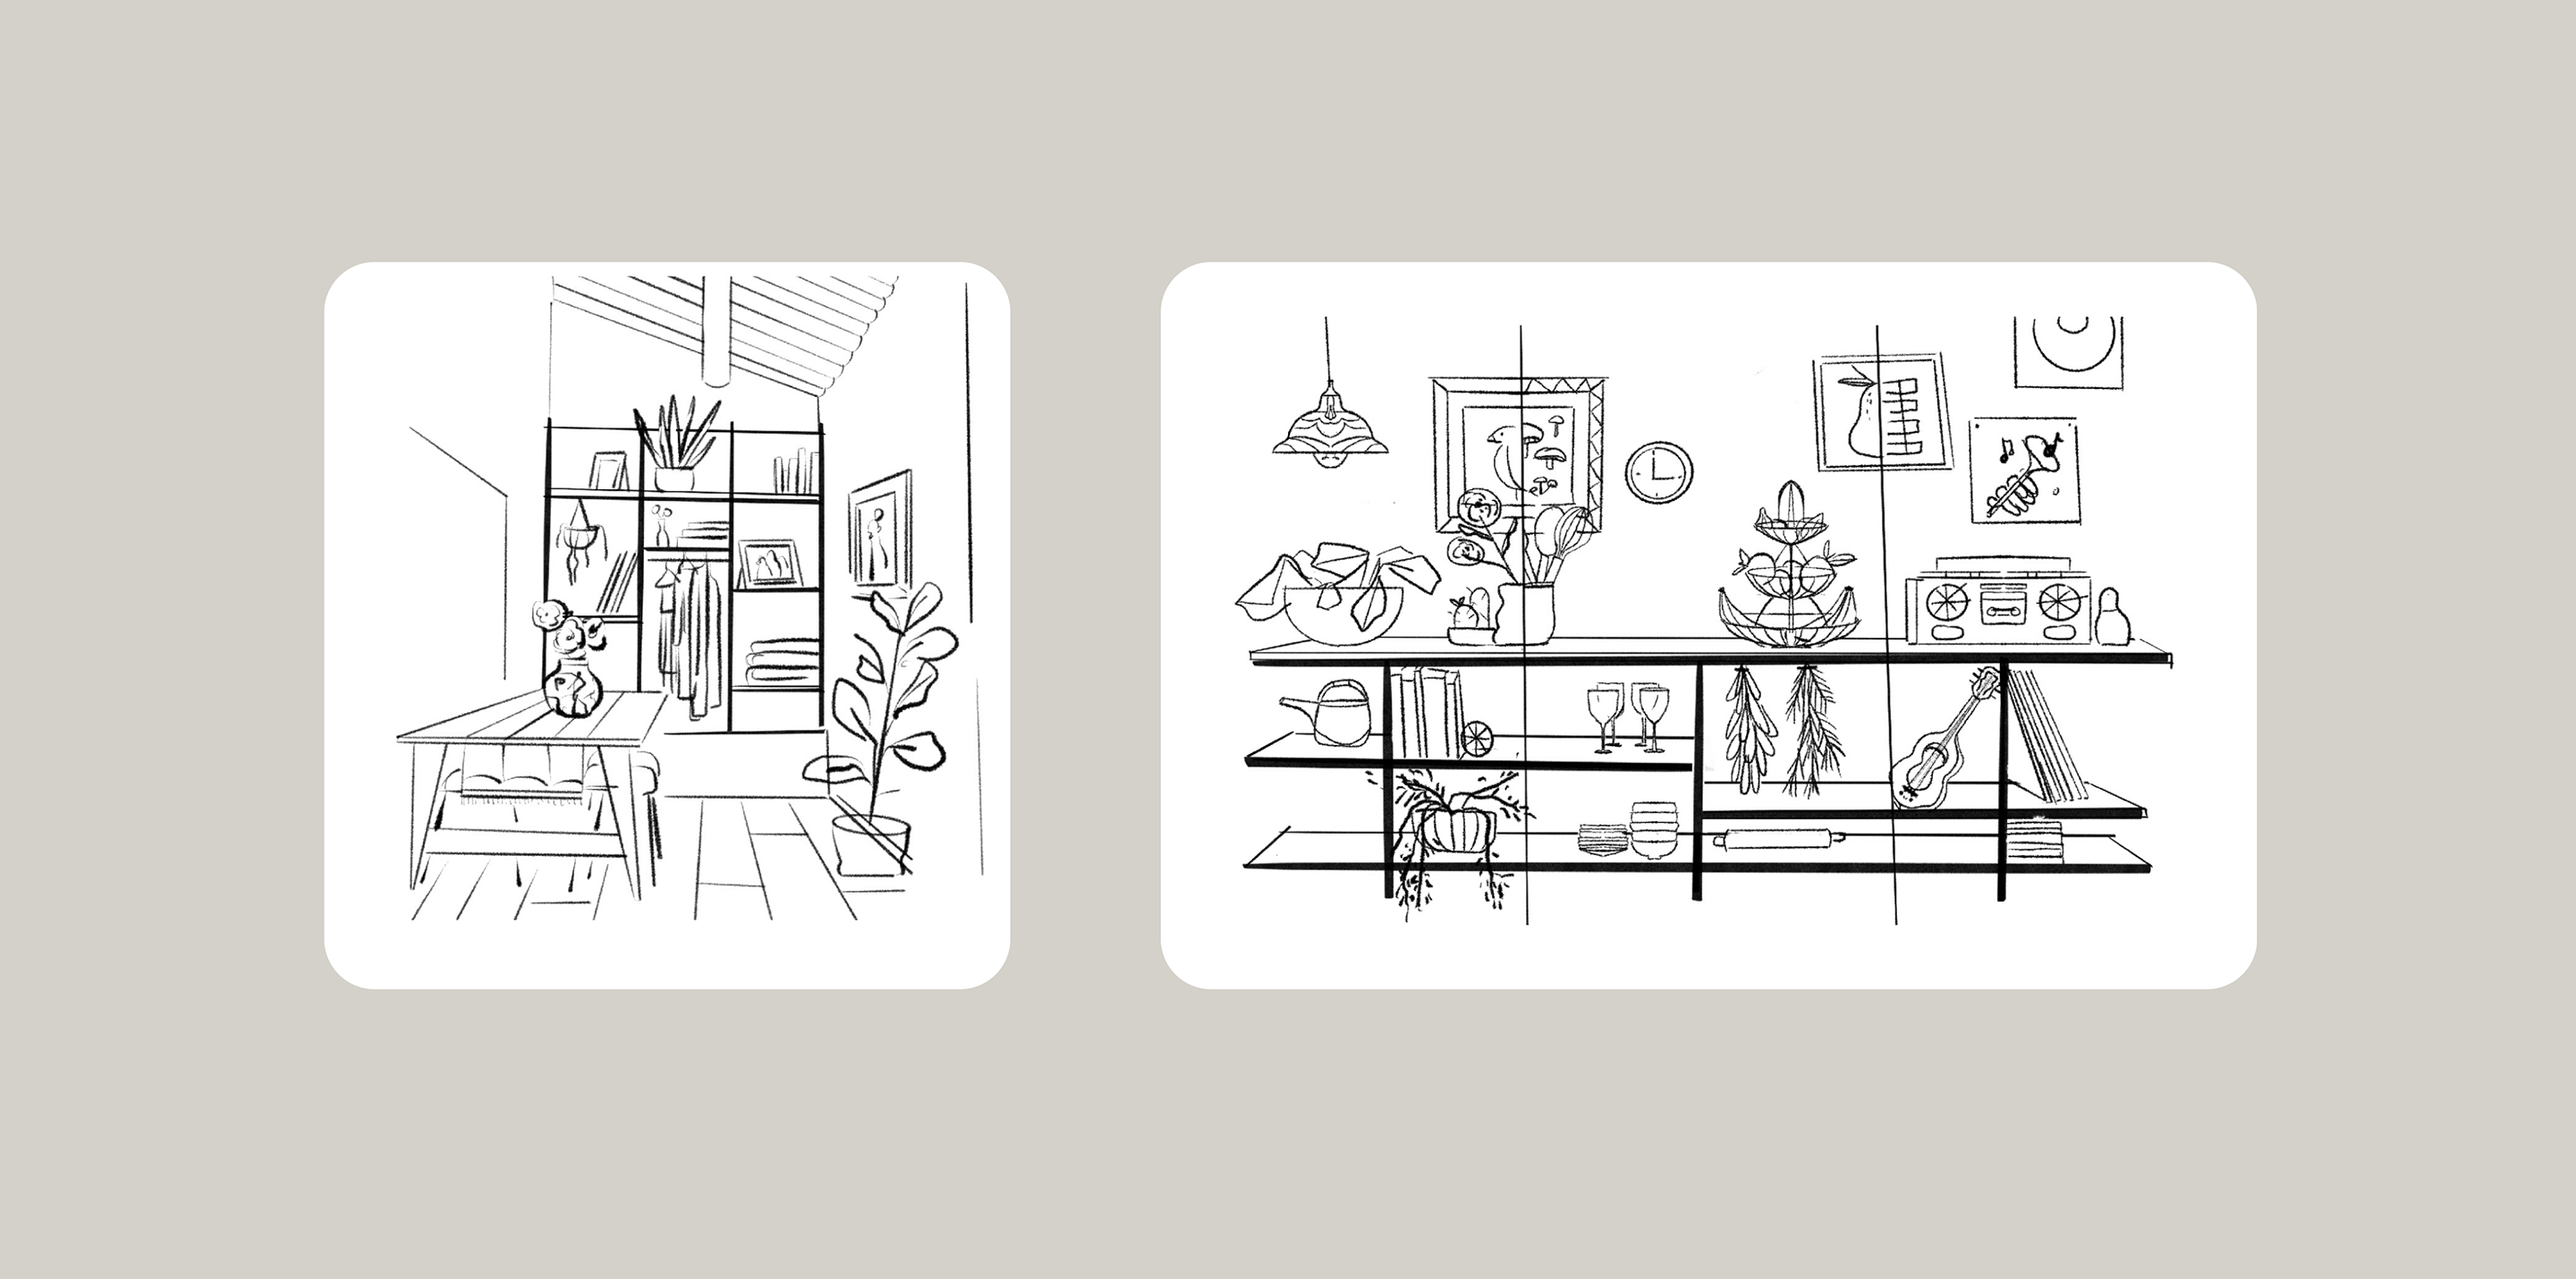
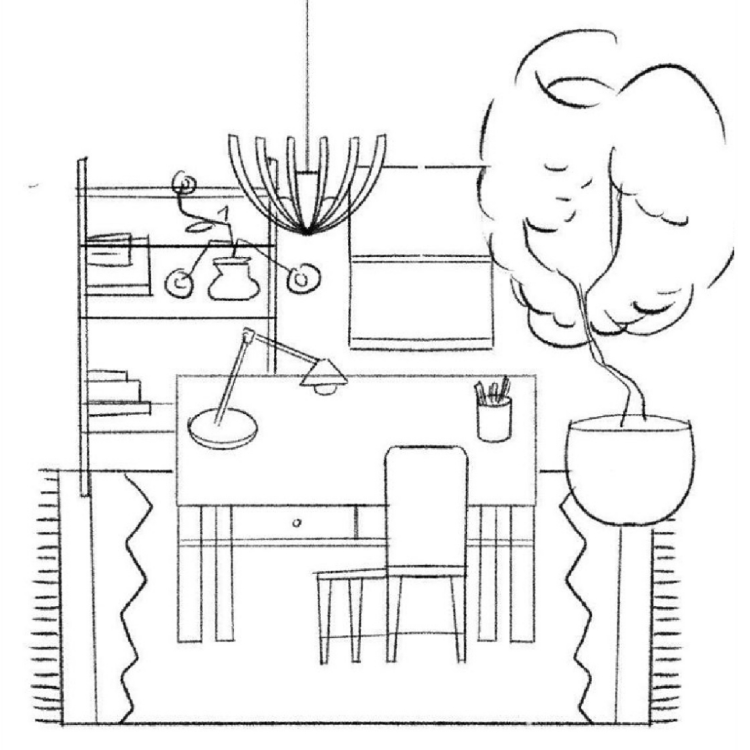
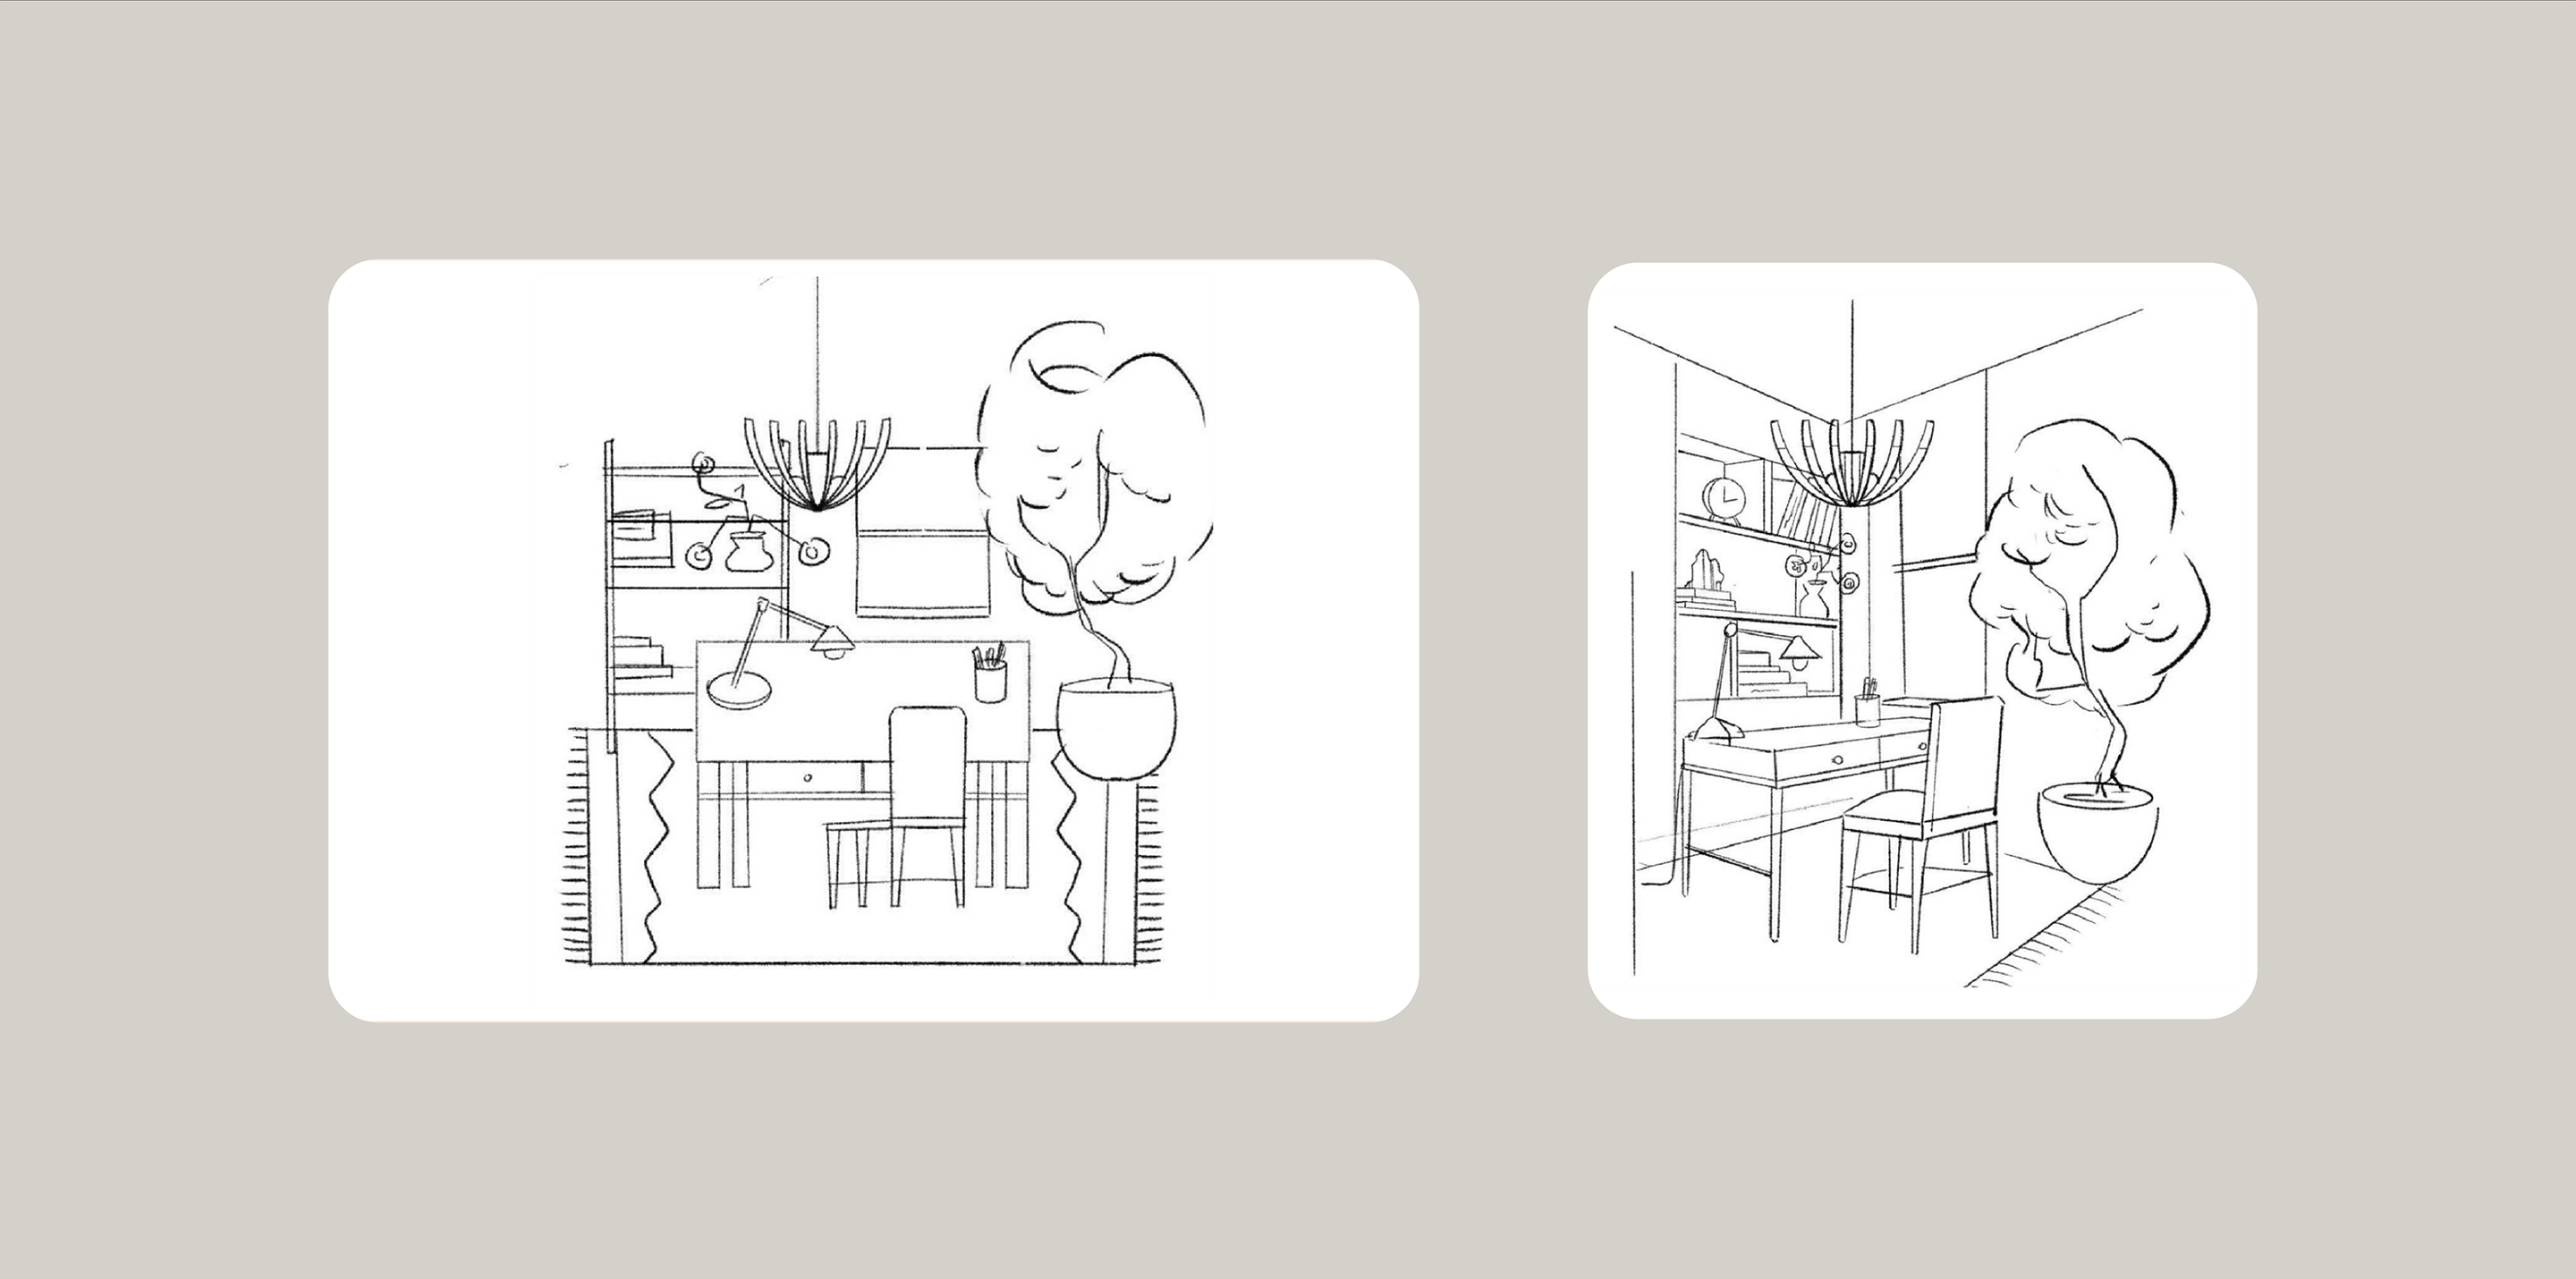
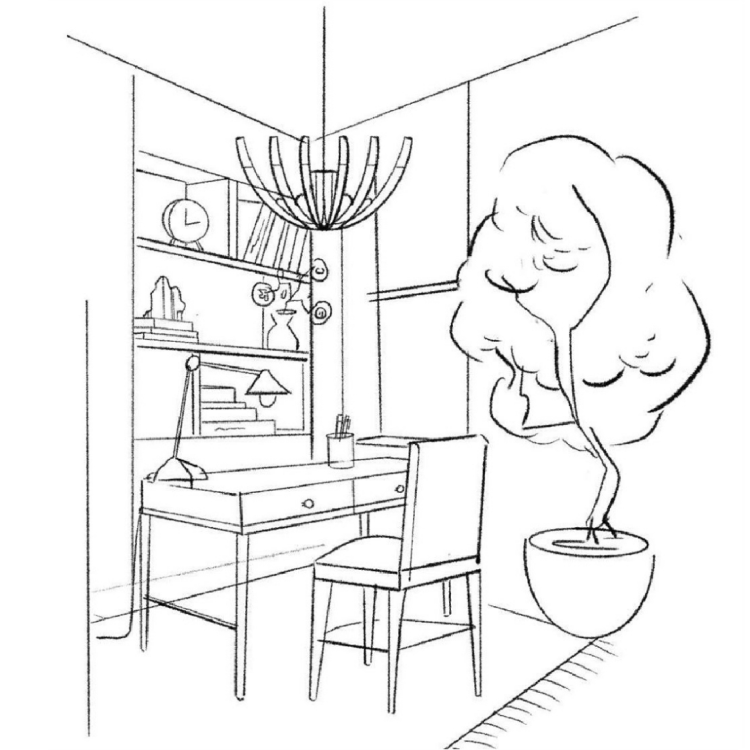
Your client’s brief specifies that they’re looking for an illustration that makes their furniture feel stylish and fun, so you produce an initial sketch that shows a shelving unit in the middle of a large, airy loft. But the feedback you receive indicates that your work is actually part of a larger campaign to promote sustainable systems that allow consumers to customize their furniture to fit a variety of homes and workspaces. They’d like you to try again, this time creating an illustration that shows a shelving unit in differently styled spaces, highlighting its ability to adapt.
How to get it right
Think of this process as a bit like stocking a toolkit. Each insight or bit of background information you find will help you create better work and a more efficient workflow. If you find yourself needing more clarity from your client, send an email asking them to explain the project’s larger goals and problem-solving objectives.
Step 3: Get clarity on copy.
Will your illustration be paired with copy? If the answer is yes, it’s essential that you know what that copy is before you get started on a concept. Understanding the tone of the language that will be accompanying your work will help you plan its look and feel—and will minimize the chances of multiple revisions later on.


How this could go wrong
Let’s say your client isn’t ready to provide finished copy, and instead simply tells you that the tagline will communicate that the furniture is “modern.” You move forward with a concept, creating an illustration that features a contemporary color palette and a sparse, utilitarian aesthetic. Later, you learn that the finished copy reads, “A modern approach to modular shelving. Let your furniture grow with you.” It’s clear now that the client’s perspective on modernity has less to do with looks and more with lifestyle. You receive new instructions to create an image that reflects warmth and connection—the opposite of your initial approach.

How to get it right
Encourage your client to provide a complete copy before you get started. Explain that this will help you create work that matches the tone of the words that appear alongside it, and avoid unnecessary do-overs. If copy isn’t ready yet, ask your client to provide as much information as possible about the direction they’re envisioning (and find out when you can expect to see finished text).
Step 4: Ask where your art will live.
Because they can be hard to understand, questions regarding specs and placement are often overlooked by clients who assume they can be easily addressed later. But nailing down this information now is crucial to determining several fundamental elements of your illustration, including composition, optimization needs, and level of detail.
How this could go wrong
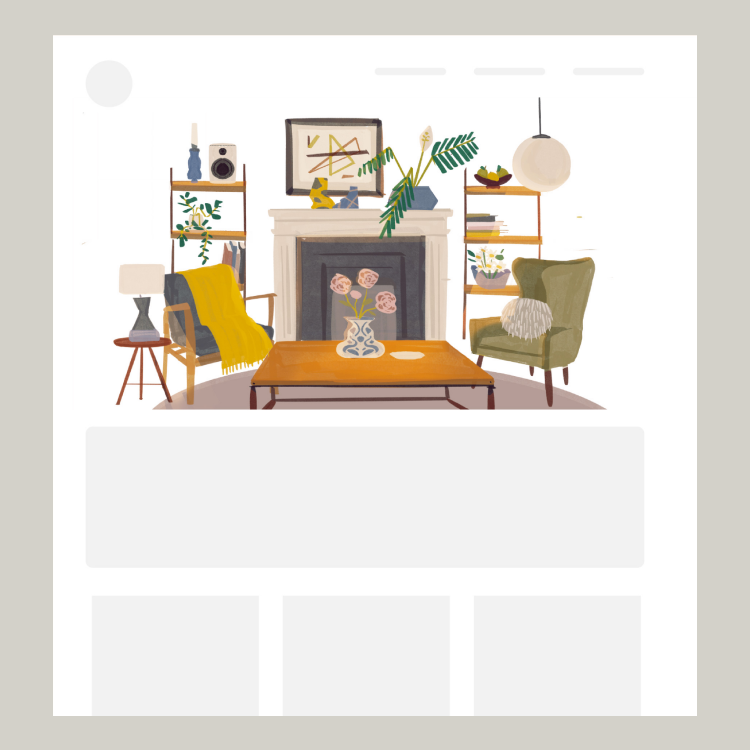
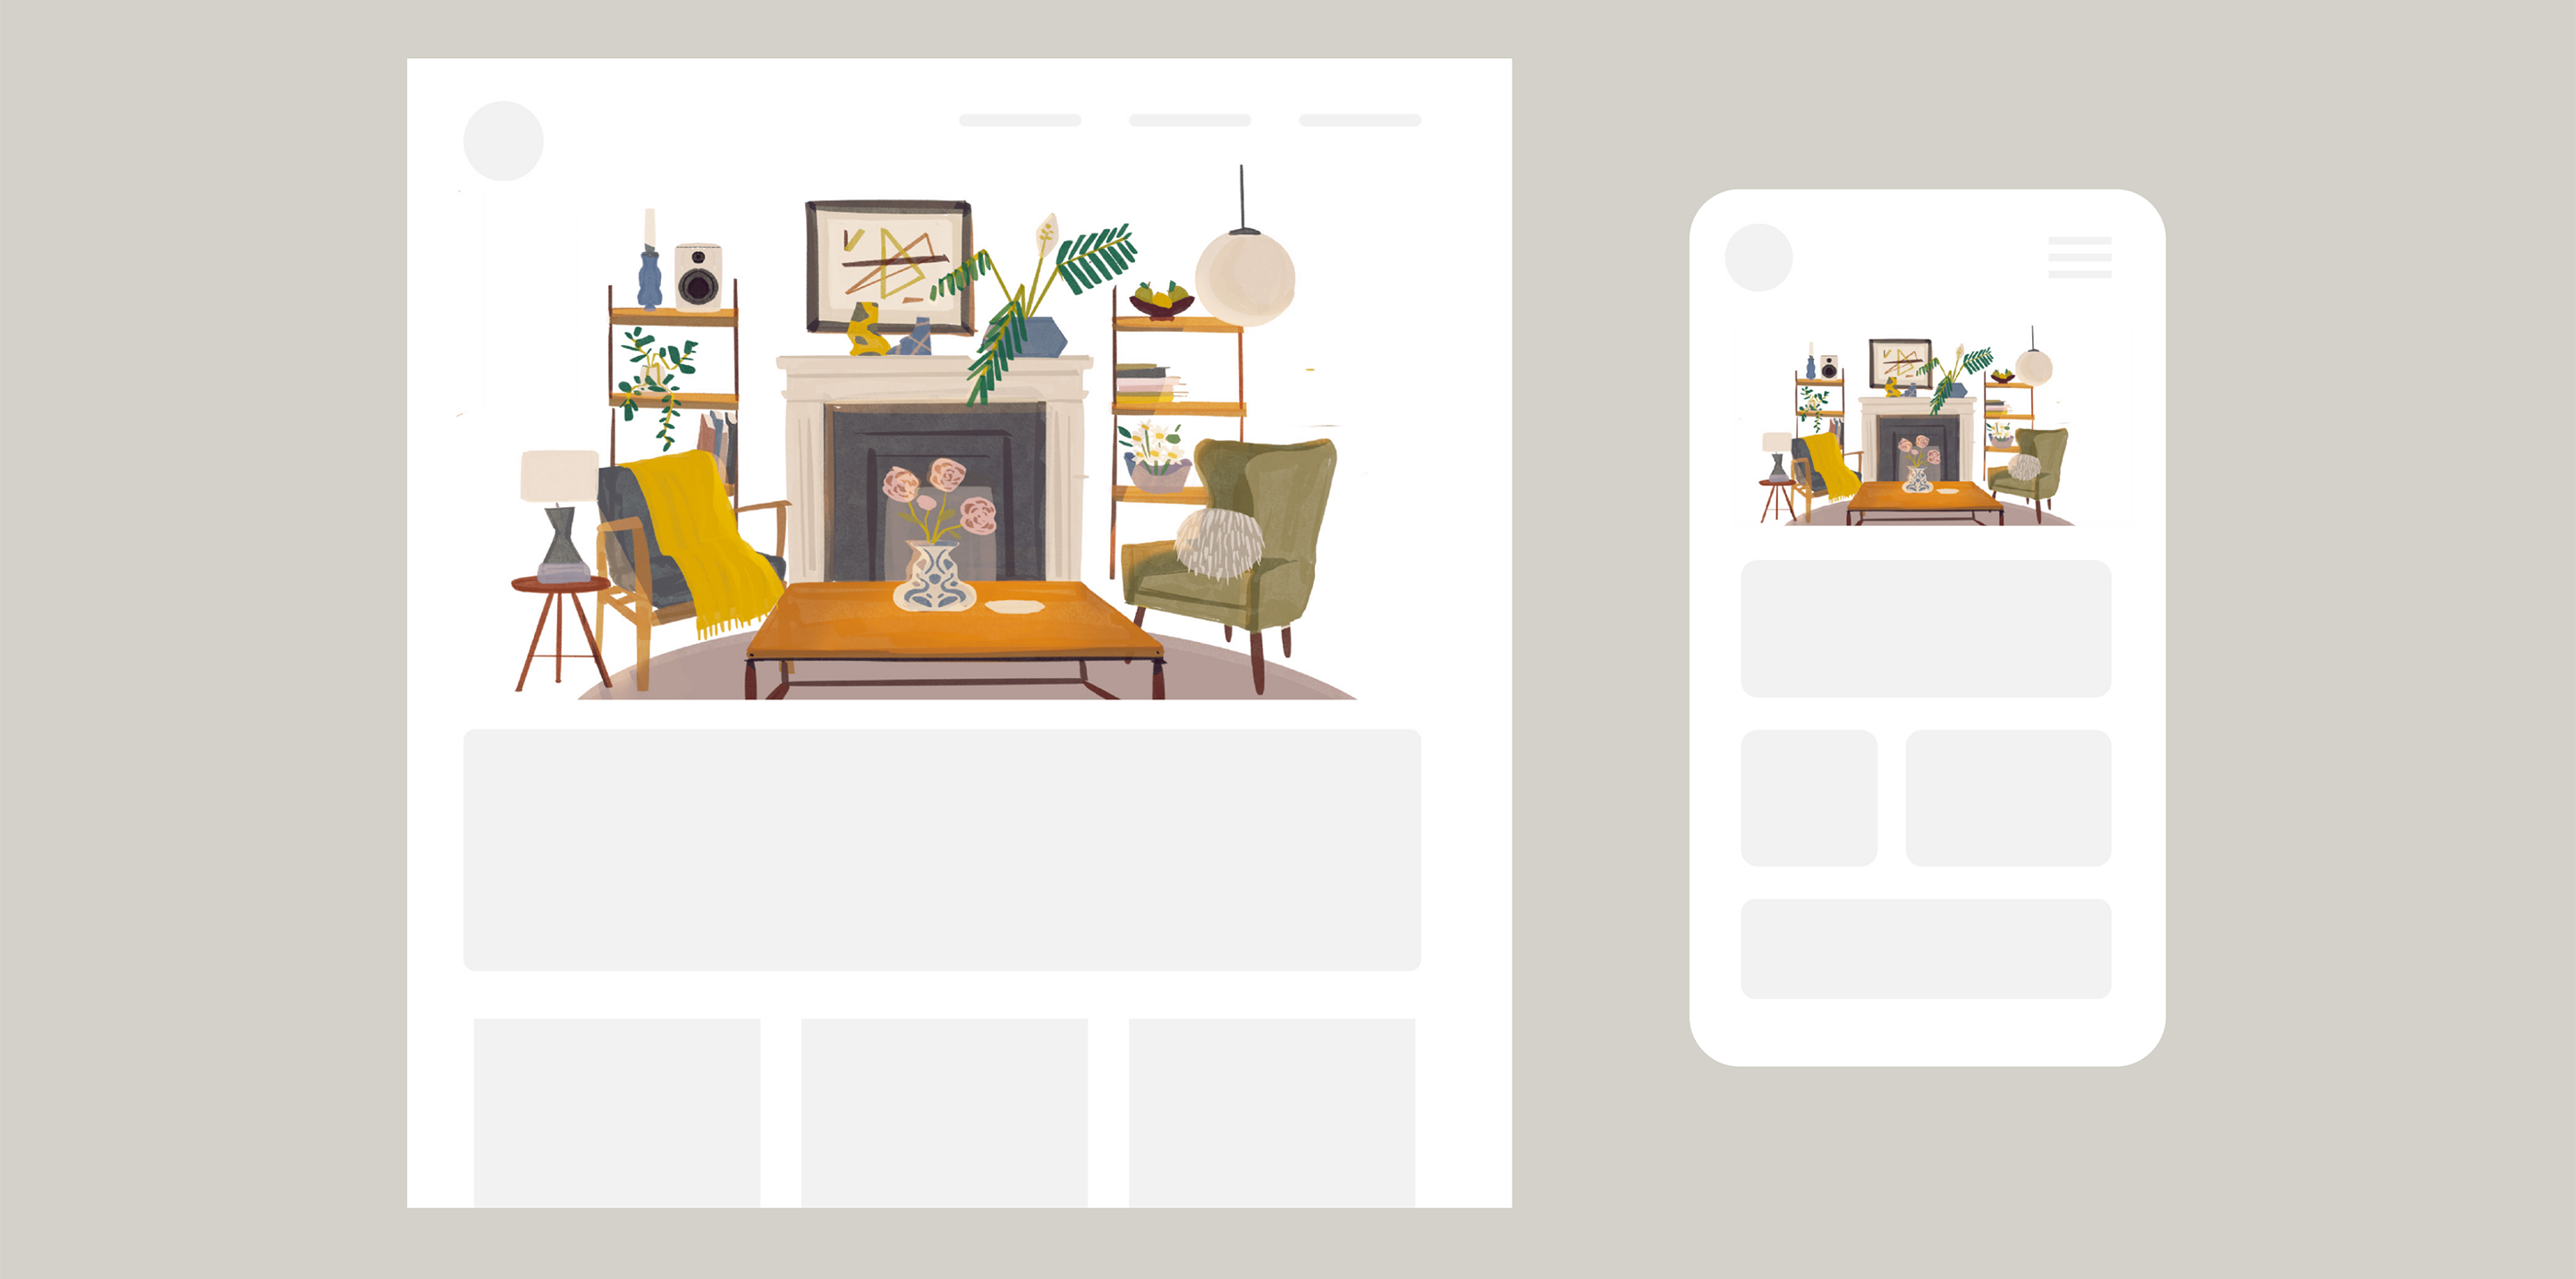
Without knowing specifics on sizing or placement, you create an elaborate illustration showing a furnished living room featuring your client’s modular shelving. Unfortunately, your client gets back to you saying that when viewed on mobile, the furniture is lost in the midst of so much detail.

How to get it right
In addition to inquiring about where your artwork will appear, request clarity from your client on specs, optimization, accessibility, and any relevant design constraints. Explain that this will help you create an illustration that gets as close as possible to what they have in mind, and to what will ultimately work best in the format they’re after.
Step 5: Become a brand expert.
Brand guidelines provide the visual rules you’ll need to follow in order to execute a project successfully. Whether your client is able to offer you a detailed brand book or not, you’ll need to have a clear understanding of their preferred color palette, imagery, and tone of voice to make sure your work feels true to their company’s personality.
How this could go wrong
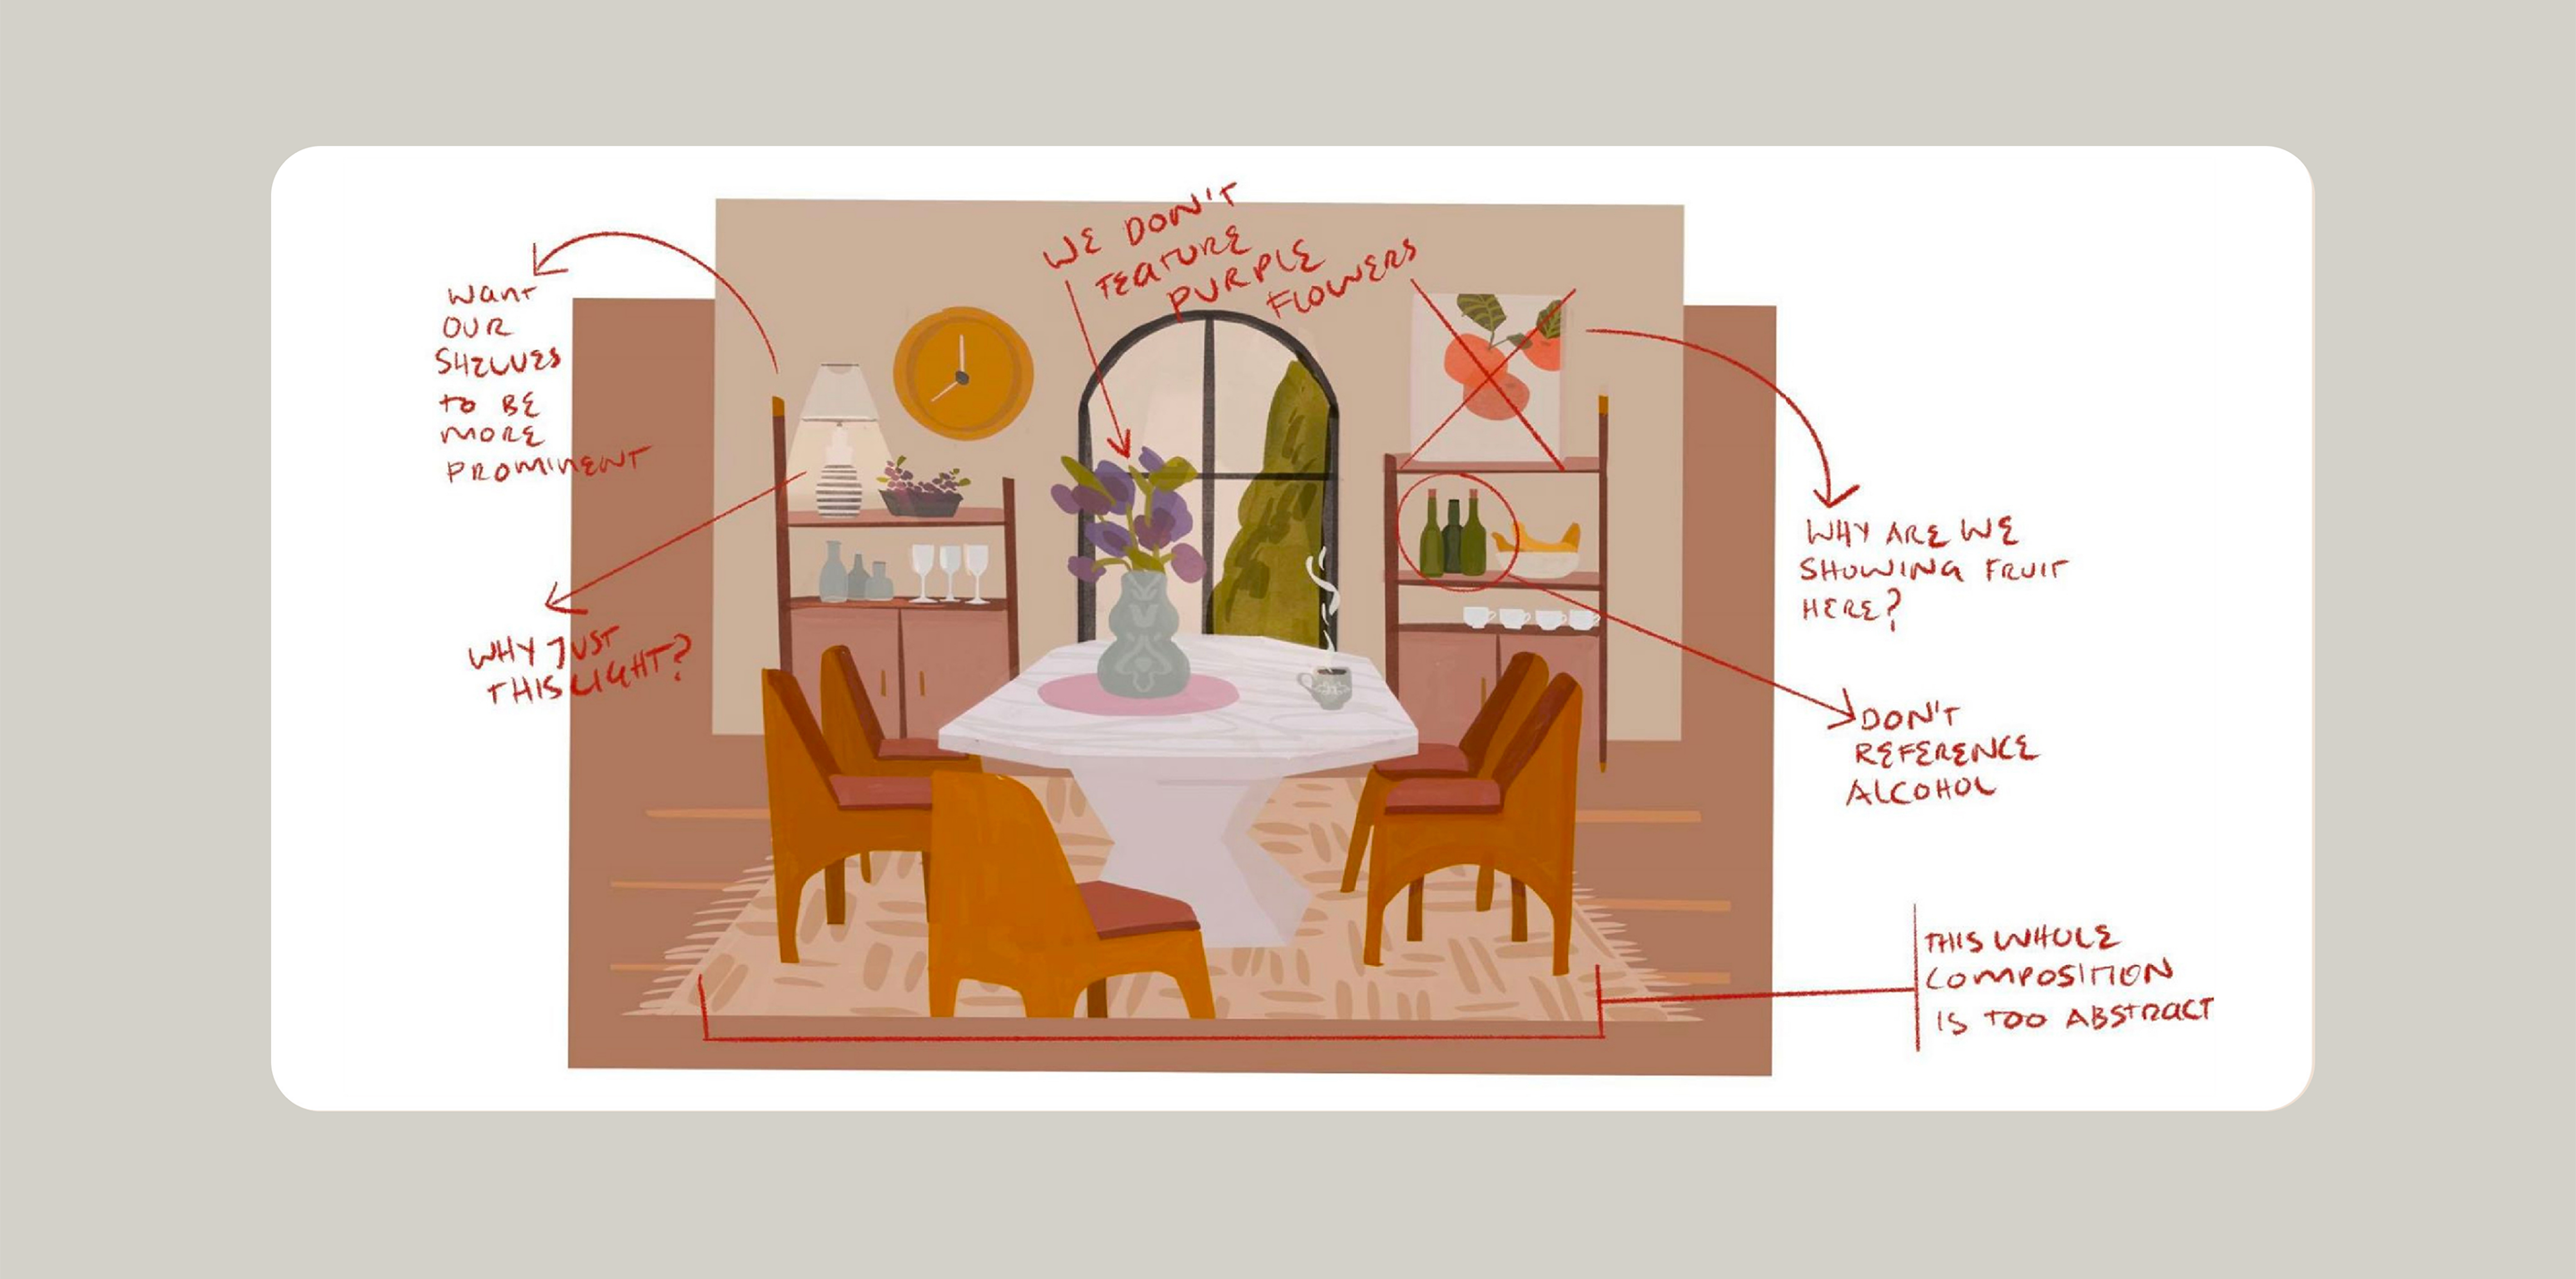
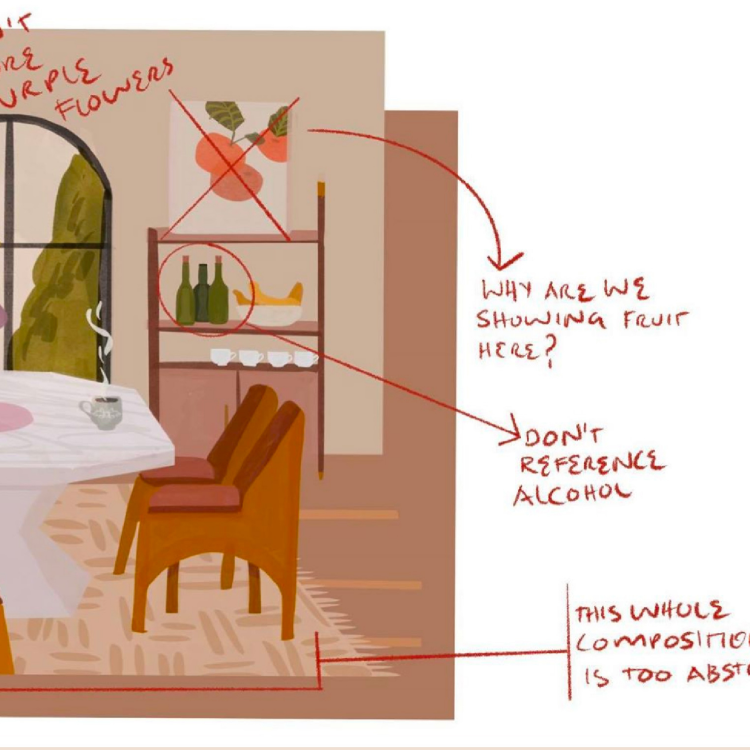
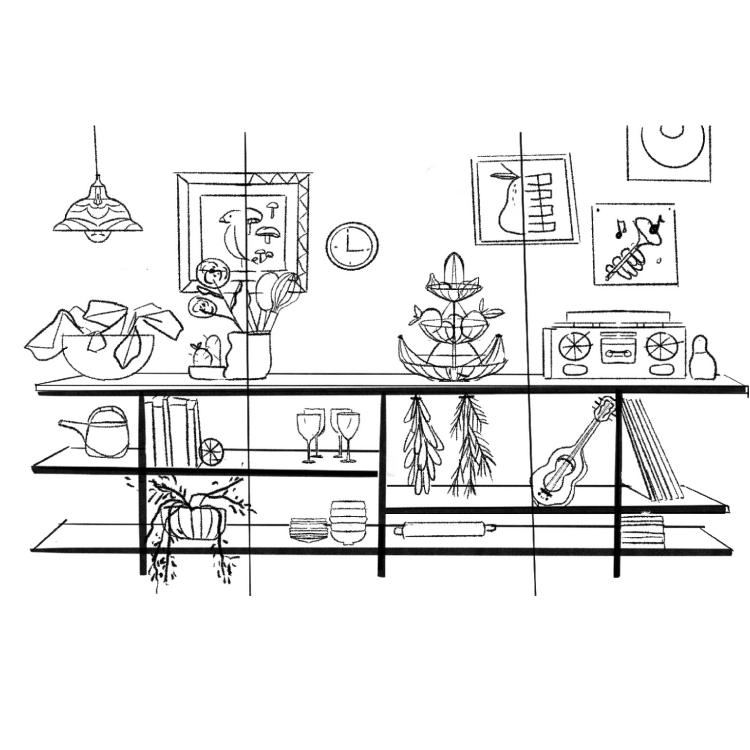
You’ve asked for a brand book and are given a set of guidelines that feel vague and largely irrelevant for use by an illustrator. With only a loose understanding about your client’s preferences when it comes to composition and tone, you create a sketch that features an abstracted perspective.
Later, you find out that your client wants to see realistic-looking spaces, similar to what you’d see in their photos. Now, you realize your illustration—despite prominently showcasing the client’s product—is too experimental to appear on-brand.
How to get it right
Encourage your clients to be as specific as possible when describing the look they’re after (this email template can help). Ask them to use descriptive words and sentences, and to clarify any gray areas relating to illustration in particular.
At Airbnb, our team references five elements when talking about visual branding:
- Tone: How should this illustration make customers feel?
- Color: What colors should we use or avoid?
- Perspective/Depth: Do we want to show realistic perspective and atmospheric depth? Or something more abstract?
- Full Bleed/No Bleed: Should the illustration go all the way to the edge of the canvas?
- Minimalism vs. Maximalism: Should we include lots of detail, or a scene with fewer elements?
Remember that as illustrators, it’s especially important to ask about perspective and bleed, since those are preferences that are harder to gauge simply by looking at a client’s website or current imagery!
Conclusion
This may feel like a lot of additional information to track down, but as both clients and illustrators ourselves, we can assure you that the extra effort is worth it. A clear brief will not only result in a smoother collaboration, it’ll lead to final illustrations both parties feel good about. What’s more, by making sure your project is off to a strong start, you’re planting the seeds to a lasting business relationship, increasing your chances of more partnerships in the future.